The benefits of converting microfilm into a digital format are hard to ignore.
For one thing, a digital format ensures that you won’t lose your collection to deterioration, flooding, or misplacement. Not to mention the convenience of having everything at your disposal on any device.
However, many are discouraged from using document imaging services or trying to do it yourself, fearing high costs or a substantial time commitment.
To appease these fears, let’s look at some of the most important steps that go into transferring microfilm into a digital document management system.
Figure Out What Type of Microfilm You Have
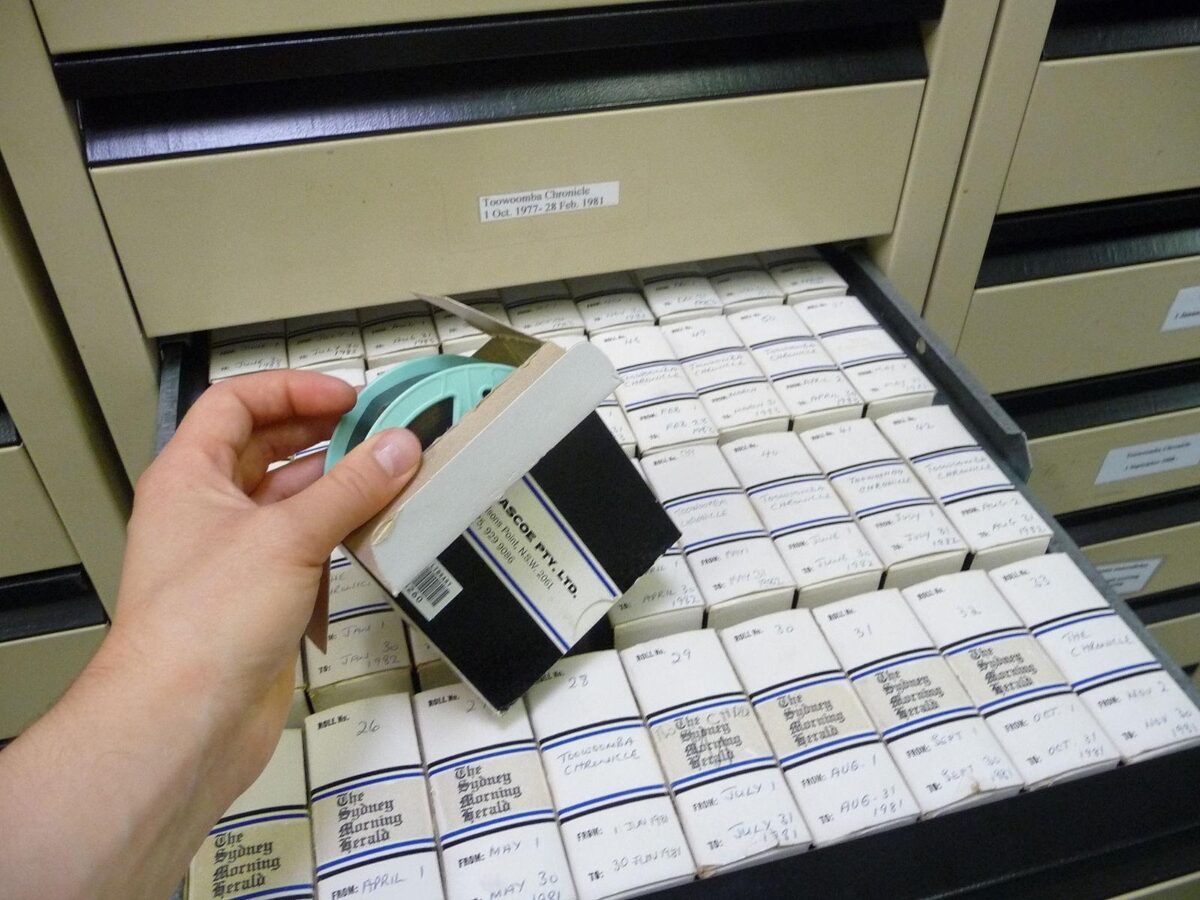
Before you can get started on the process of converting microfilm into a digital format, you’ll need to determine whether you have 16mm or 35mm microfilm.
Even though the process of converting both might be similar, you will need more powerful equipment to preserve the quality of 16mm microfilm, since the surface area of the negative is smaller and harder to reproduce.
You will need a sharper lens and might want to consider consulting with document imaging services providers just to be sure.
Acquire the Proper Microfilm Scanning Equipment
Once you understand what type of microfilm you’re dealing with, you’ll need to put together the necessary equipment for the digitization process.
First, sort the collection of microfilm that you want to digitize in sequential order, as you want to try and make the process as organized as possible.
You will also need either a digital reader or specialized microfilm scanning equipment, which can be hard to find.
Another essential component of the digitization process is the software that you’ll use to edit the microfilm.
You should also consider where you are going to store the digitized files, and in what format. Since TIFF images can take up a lot of space, you might want to consider a cloud storage solution.
Start Scanning
Once you have everything ready, you can start the digitization process. As you go through each image, make sure that it is perfectly clean and without debris during the scanning.
When the images are scanned, go through all of them to see if they came out well. If not, you will need to find the images that came out poorly and redo it.
Why Professional Services Make More Sense
Even though it is possible to go through the digitization process on your own, it isn’t usually a viable option.
For one thing, the required equipment can be hard to come by and expensive, which makes the investment not worthwhile, especially if you only have a small quantity of microfilm to digitize.
What’s more, the process can come with various challenges, so you need to have experience to achieve good results.
Finally, learning how to use scanning and image editing software takes a lot of time, so it’s usually much easier to just hire professionals that can take over the entire process and provide you with excellent results for an affordable price.
Smooth Solutions has been providing microfilm scanning services for various government agencies and fortune 500 companies for over 25 years. Our vast experience, specialized equipment and quality control process makes us a superior resource for your next microfilm scanning project. Contact us today for a free estimate.